Ok, so maybe the reference – it’s in the post title, and, if you get it, you get it – is kind of cheesy, but this cheesecake-like creation actually contains no cheese at all.
And cue the drum noise for the wordplay.
Anyway, even though the cheesecake featured in this post contained zero per cent cheese, I’m going to refer to it as a cheesecake, for ease of typing and writing and so on.
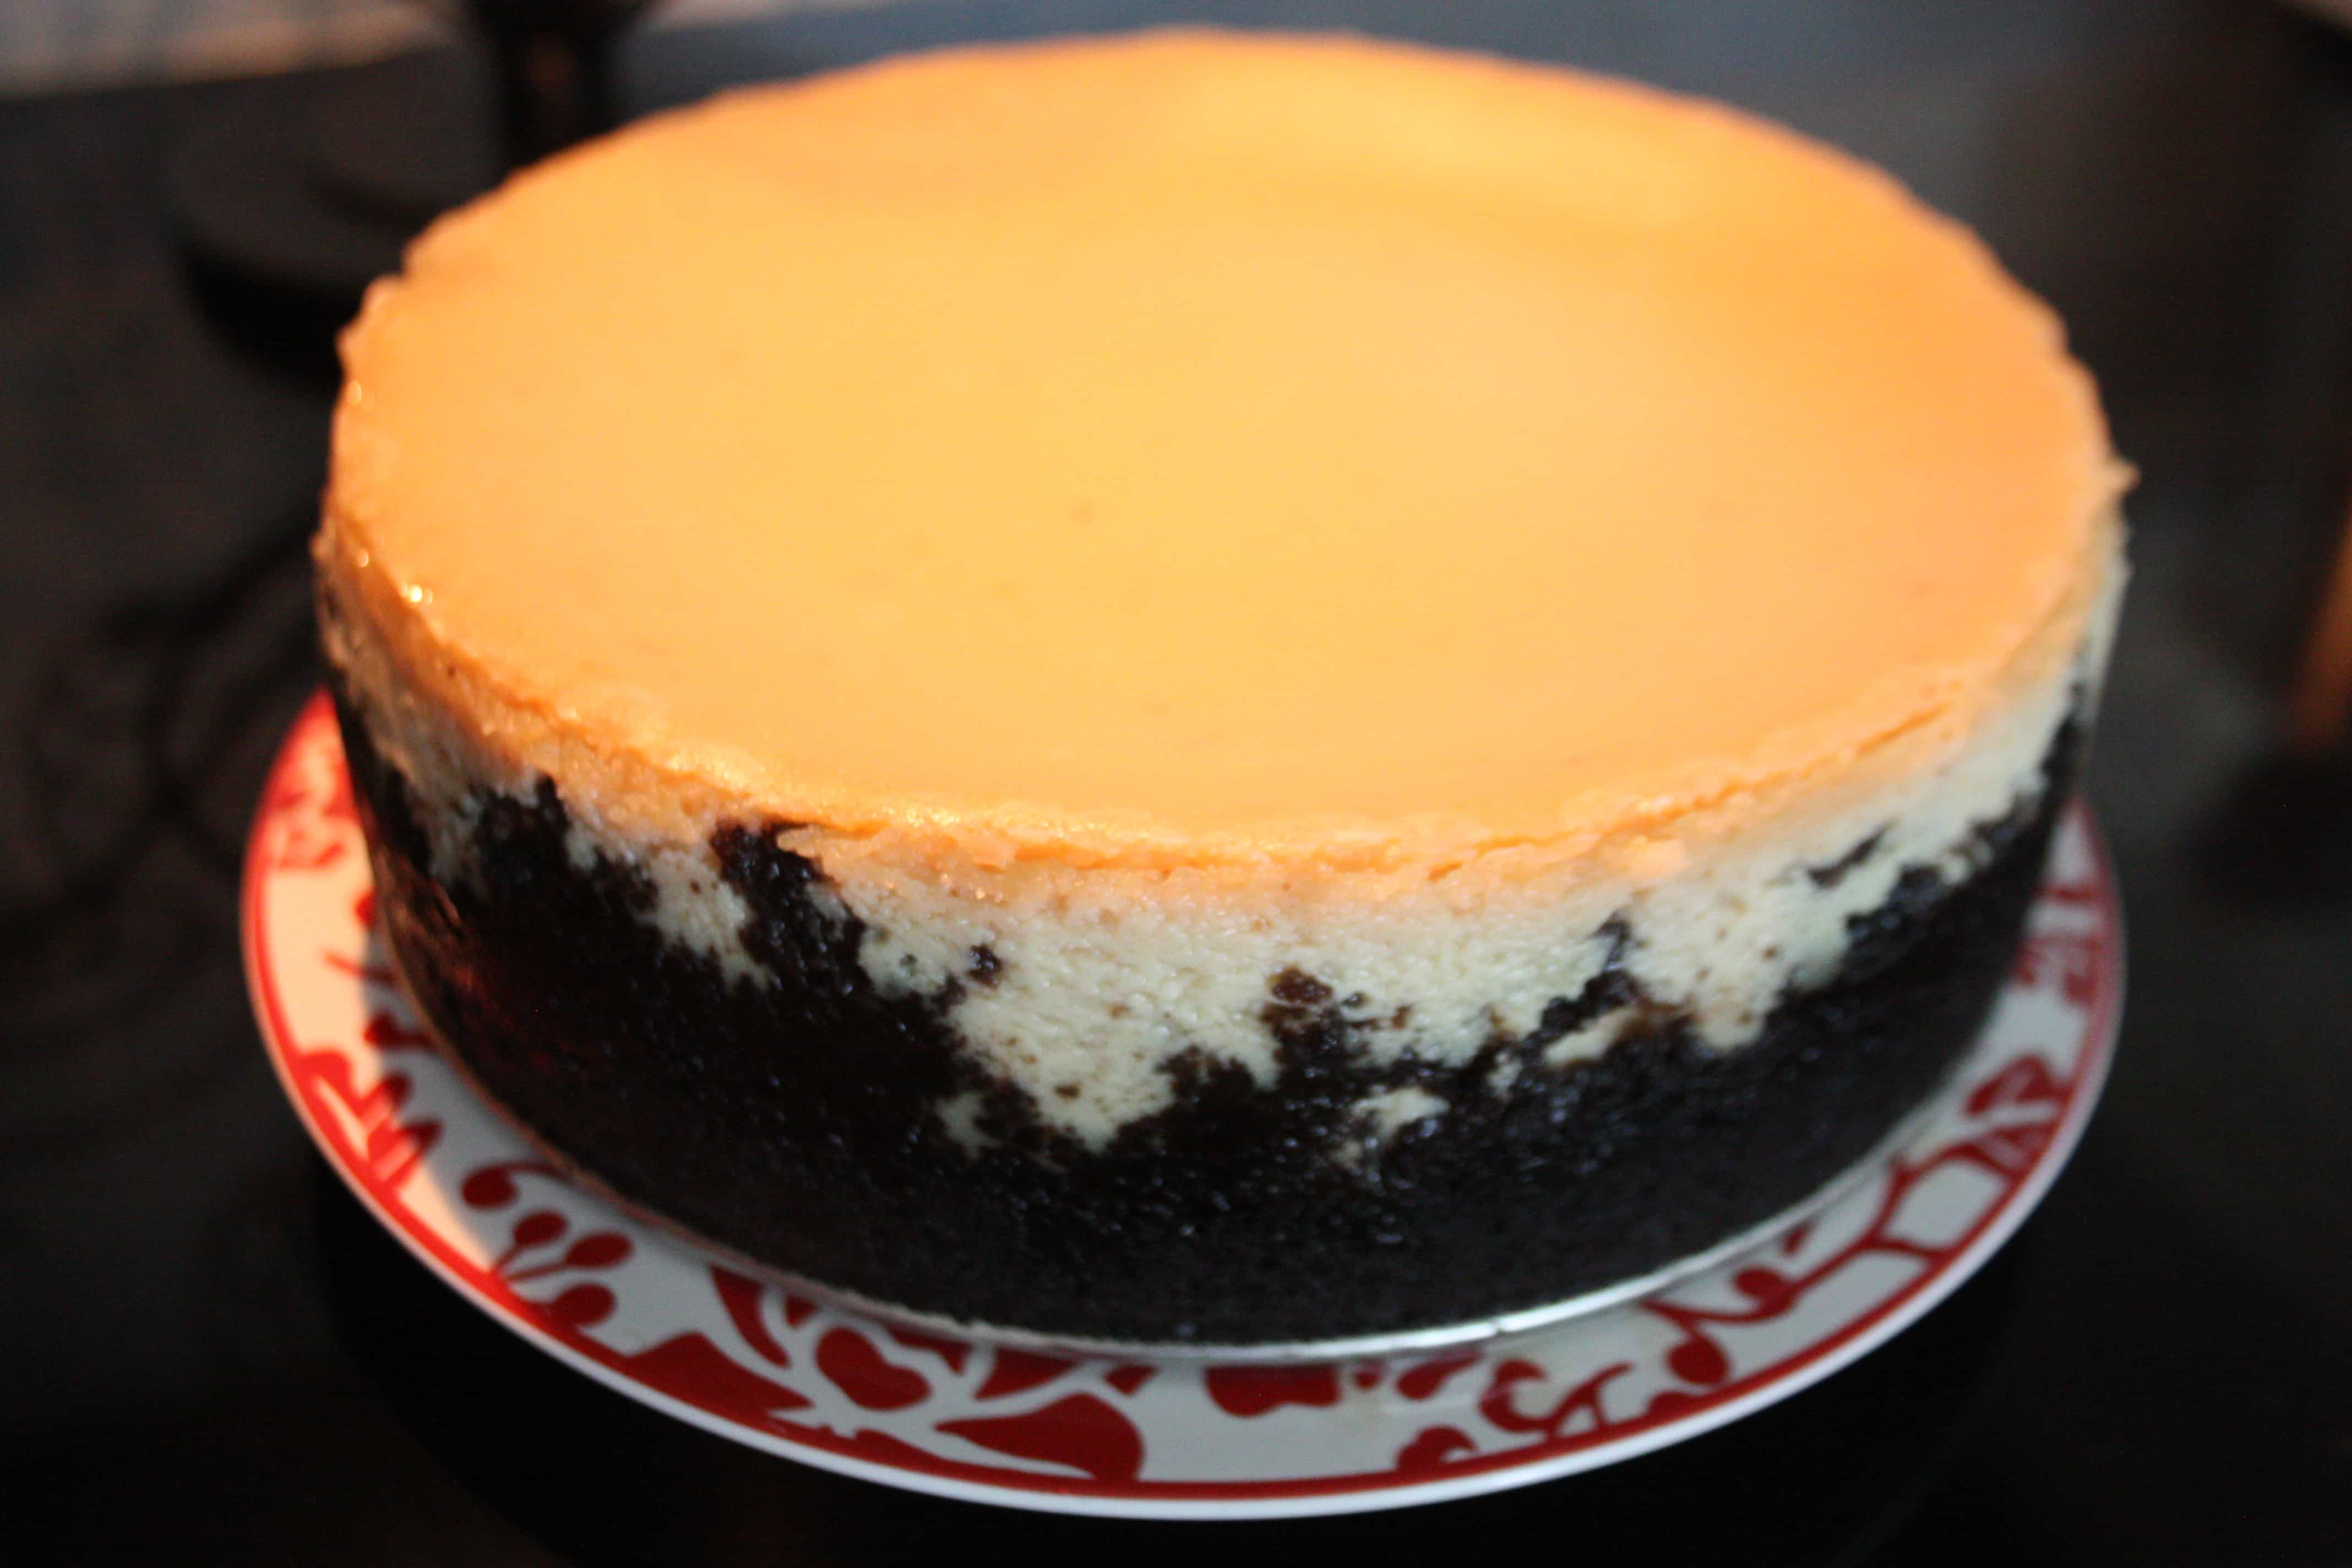
Shortly after acquiring a springform pan, I put said pan to use making a chocolate and vanilla swirl cheesecake. Actually, to be more accurate, I made a chocolate-coffee and vanilla-coffee marble cheesecake with an Oreo cookie crumbs crust.
The cheesecake was delicious.
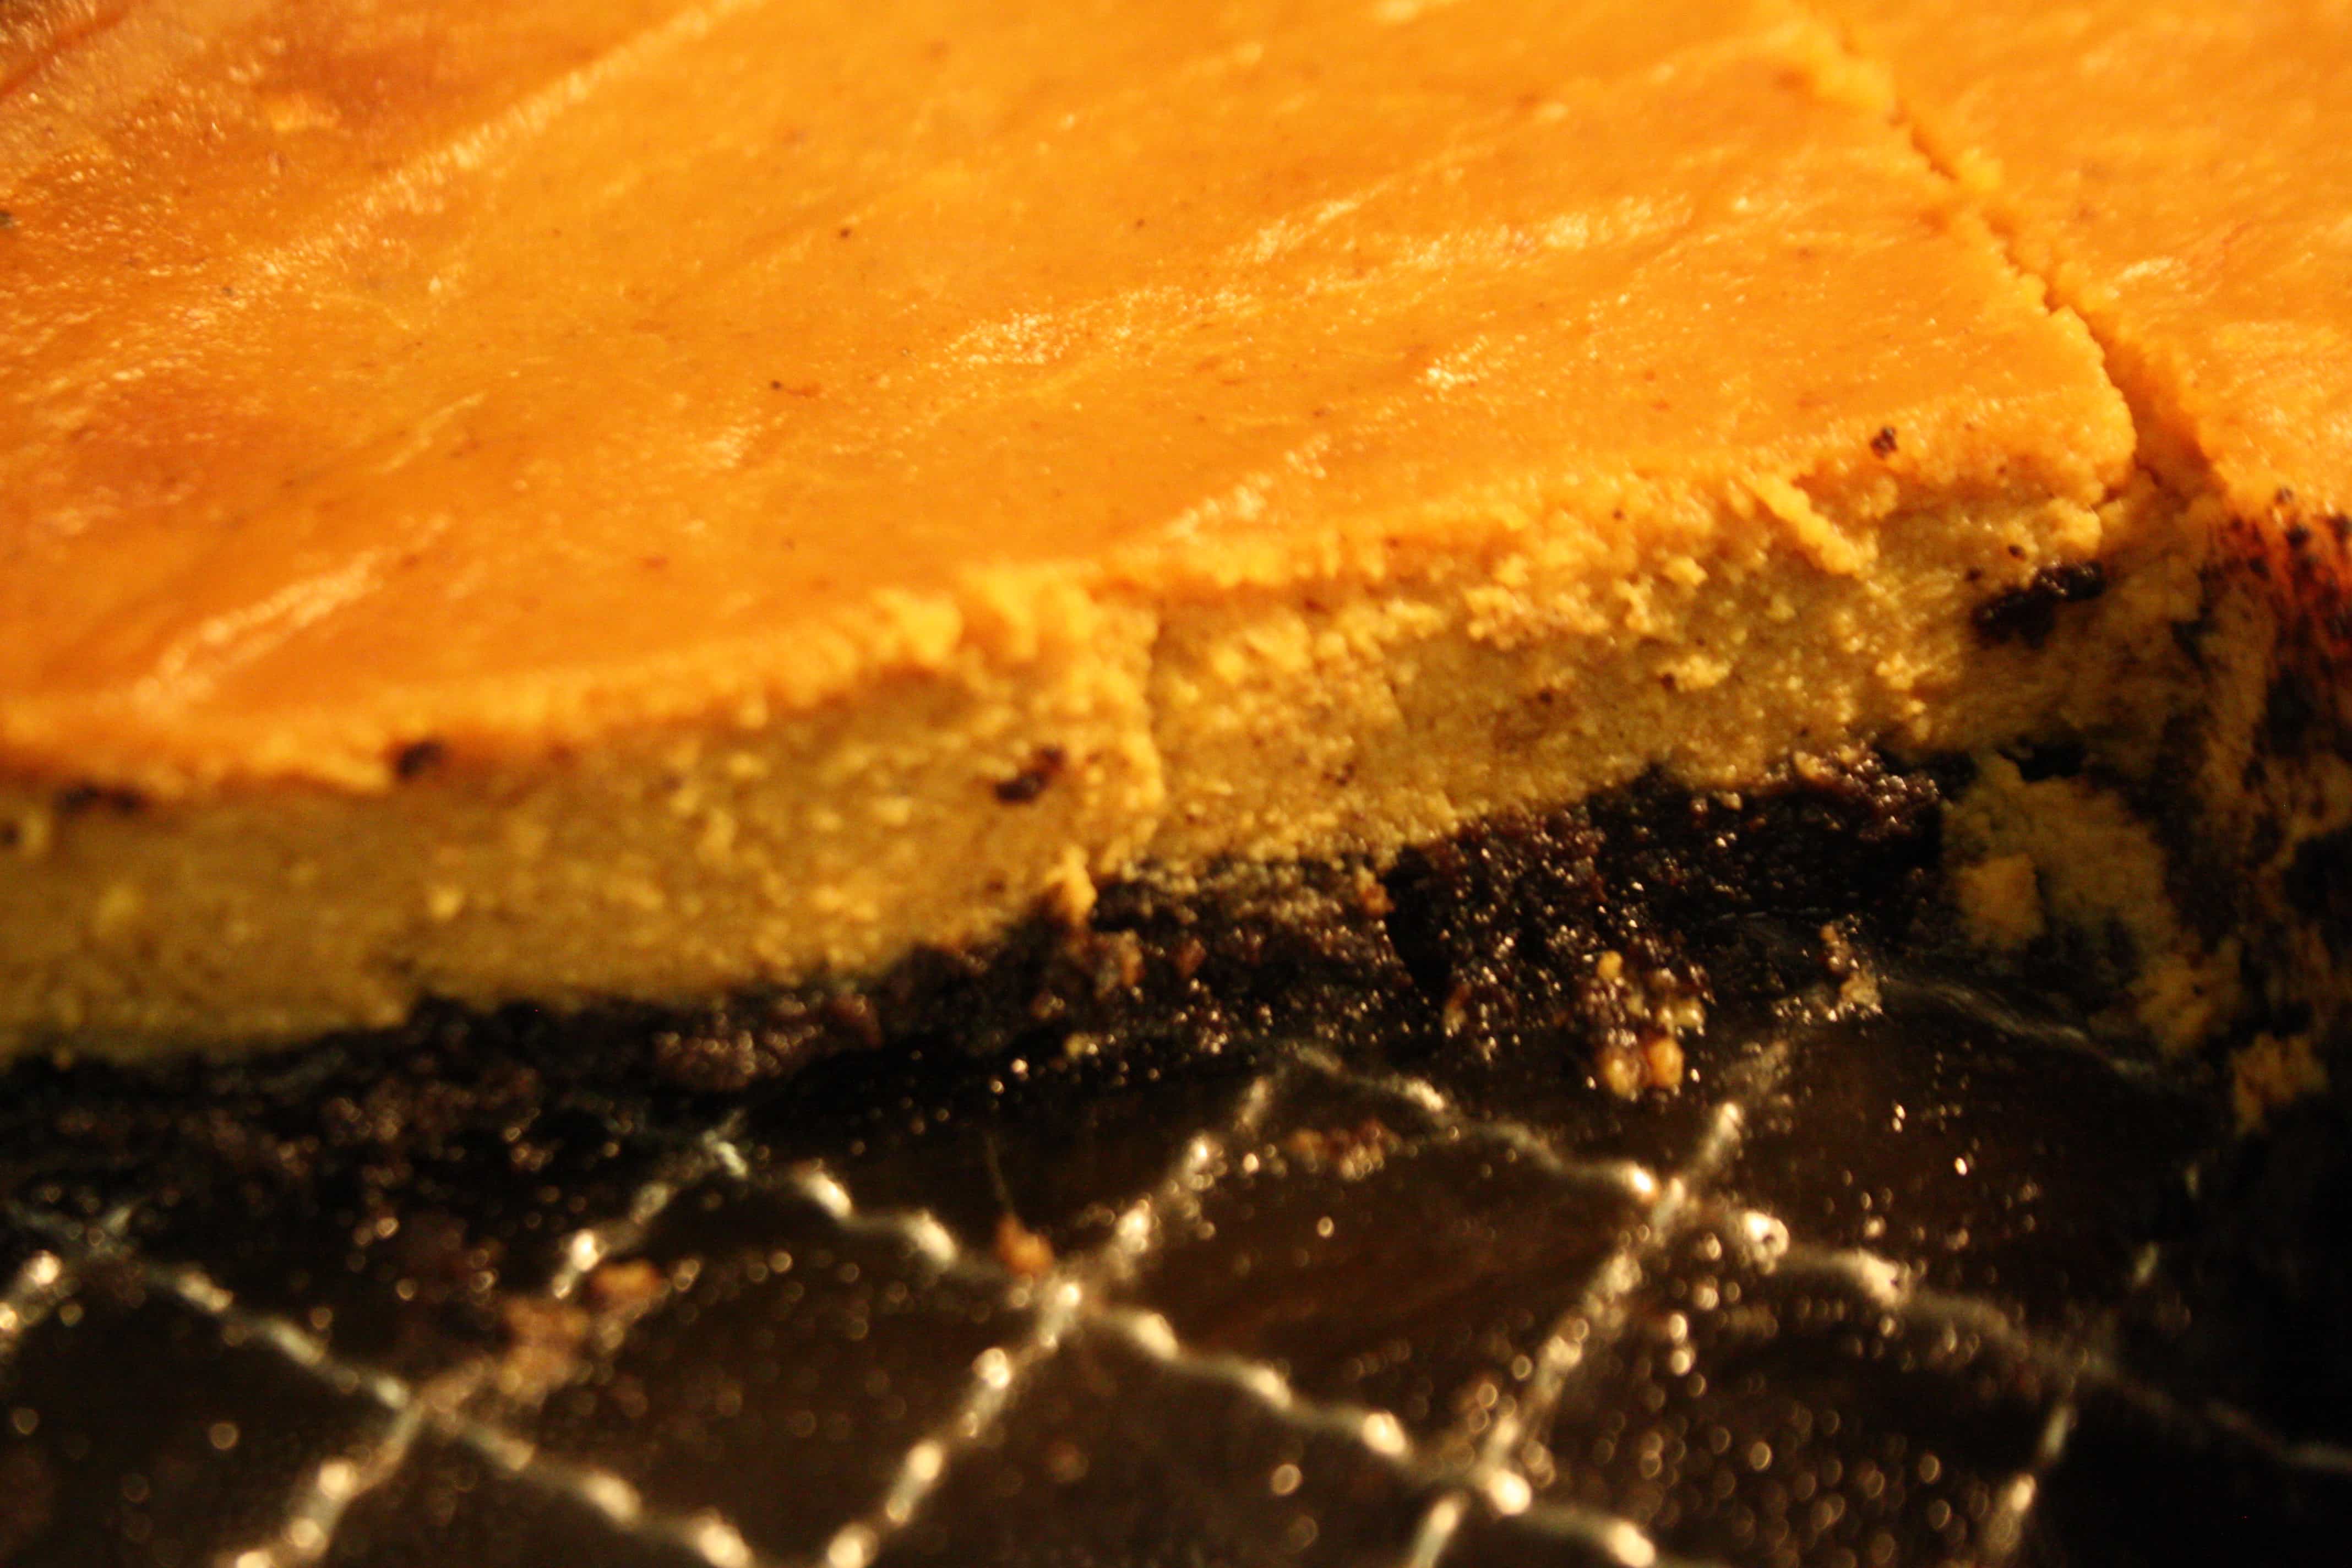
And a slice of the finished product looked like this:

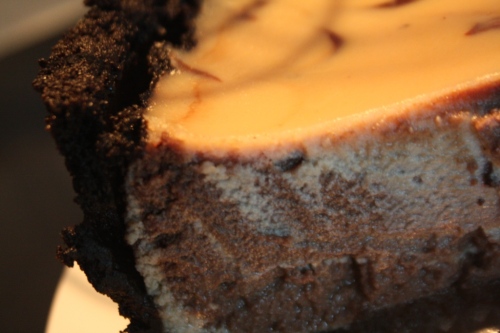
And, from another angle, this:
For the recipe, I used this recipe as a base/guideline, and modified things to suit what I wanted, what ingredients I felt like using, and what I thought would work better.
My version of the recipe:
-For the crust, I used Oreo baking crumbs. You can buy Oreo baking crumbs from the grocery store in a box or you can buy them in bulk from bulk food stores. I used the crust recipe on the on the Oreo baking crumbs box, which calls for mixing 1 1/4 of a cup of the baking crumbs with 1/4 of a cup of margarine. I used room-temperature Earth Balance margarine. Once the crumbs and the margarine are mixed, pour the mixture into an assembled/put together springform pan and spread and press the mixture evenly along the bottom and sides of the pan. At this stage, you can either move the pan to the side until the filling is ready OR you can bake the crust for a few minutes. I prefer a baked crust: it turns out crispier and, in my opinion, much more delicious. If you decide to bake the crust, pre-heat the oven to 325 degrees and bake the crust for about 5 or so minutes before removing it.
-Before starting on the filling, pre-heat the oven to 325 degrees, if it’s not already pre-heated from baking the crust.
Next, start making the filling.
For the filling, I mixed the following ingredients all together in a bowl:
– crumbled FIRM tofu. I took the time to try and translate this amount of tofu called for in the recipe into more-easily-understood fractions-of-the-kind-of-tofu-block-that-I-usually-buy-terms. Using the size of the tofu blocks usually sold in the cold section of the grocery store, this works out, in my estimate, to just over 1 and 1/2 blocks of firm tofu. The calculations aren’t exact, but I’ve successfully made two of these cheesecakes so far using my calculated amount of tofu. You may need to do your own calculations if you’re using smaller or larger tofu blocks. Drain excess liquid from the tofu before you use it. And crumble or mash the tofu once it’s in the bowl.
-1 1/2 cups sugar. I used regular, fine-grind, white sugar
-1/4 cup canola oil
-1/2 cup soy milk. You could use almond milk or rice milk, or, really, pretty much whatever edible liquid matter – such as, say, water – that you wanted.
-1/4 cup cold coffee. The recipe called for rum. I didn’t have rum. Coffee worked. Rum would probably work too.
-1 1/2 teaspoons vanilla extract.
Mix everything together. I used an immersion blender. You could probably use a regular blender or, in a pinch, you could use a masher or egg beater or some combination of random mixing tools. I think, though, that using an immersion blender would result in the best and smoothest texture for the filling.
Blend until the the mixture is smooth, free of random lumps and chunks, and somewhat custard-like in texture and consistency. If you’re using an immersion blender, achieving the custard-like texture and consistency will take several minutes and several stops to scrape the sides and bottom of the bowl with a spatula.
Once the mixture is blended, pour about half of it into another bowl and add about 4 tablespoons of cocoa powder. Blend the coca into the mixture.
Now it’s time to start pouring the cheesecake filling mixture into the already-prepared crust in the springform pan.
To achieve the chocolate and vanilla marbled effect:
-you could either pour alternate blobs of filling from the vanilla and from the chocolate filling bowls into the pan – starting with an initial layer that completely covers the bottom of the pan – until both bowls are empty.
-OR you could pour random, alternate, amounts of whichever filling you want into the pan until both bowls are empty.
I used the first method, and then, I took a clean bamboo kebab skewer and – being careful not to touch or move around the crust on the bottom or the sides of the pan – swirled it around a bit.
To bake, carefully transfer the filled springform pan into the, preheated, oven – you may want to put the pan on a cookie sheet to protect the bottom of your oven from any leaks – and bake it at 325 degrees for about one hour and fifteen minutes.
Yes, really, one hour and fifteen minutes.
The cheesecake will almost certainly not look like it’s done after one hour and fifteen minutes. A ready-to-come-out-of-the-oven cheesecake should look ever-so-slightly more solid and set and less custard-like. Check on the cheesecake – ideally through the oven door window – during cooking to make sure that all is well and over-cooking isn’t happening.
When the cheesecake is judged ready to come out of the oven – or it’s been one hour and fifteen minutes – remove the pan from the oven and transfer it to a wire rack to cool.
Leave the pan to cool on the wire rack until the pan and its contents have cooled down to room temperature.
Next, transfer the room-temperature pan to the fridge to cool further. It’s probably best to leave the cheesecake in the fridge to cool overnight. And it’s probably NOT a particularly good idea to try to take the side piece off of the springform pan before the cake has had a chance to cool in the fridge overnight.
Once the cake is cooled, carefully remove the side piece of the springform pan. You may want to run a thin wooden or rubber spatula between the edge of the pan and the cheesecake crust before attempting to remove the side piece.
A few assorted tips:
-Don’t use silken tofu. Use firm tofu. Really.
-The cheesecake needs a long time to cool.
-If you poke or prod at the cheesecake while it’s cooling, you’ll probably either make a mess or leave marks on the cheesecake. Refrain, if you can.
All who tasted this cheesecake reported that it was delicious.
So, bon appetit and such.