The baking

Tag: baking

Pumpkin pie squares

I’ve been experimenting with baking squares as of late.

I decided to start experimenting with squares when I wanted to make a pecan pie, but didn’t really want to deal with making a pie crust.

Pie crust: just because I can, doesn’t mean I want to.

So I made pecan pie squares. I used the pecan pie recipe from The PPK and this shortbread recipe. I pressed the shortbread dough into the bottom of a large rectangular glass baking pan, poured the pecan filling on top, and baked. I followed the pie recipe’s baking temperature and time.

Total win.

Pictures didn’t happen, but I intend to make pecan pie squares again. And perhaps I will take some pictures.

I also made a batch of squares with walnuts instead of pecans.

Back to pumpkin.

I thought it would be fun to try pumpkin pie squares.

I was right.

Pumpkin pie squares were fun to make. And delicious.

Instead of the pumpkin pie recipe that I usually use – modified from a recipe in my old batter splatter cookbook – I decided to try a pumpkin pie recipe from The PPK. The PPK recipe seemed roughly equivalent in volumes and spice use and so on, so I figured it would be good. It also used up a whole can of pumpkin puree without any leftovers, so that was a bonus.

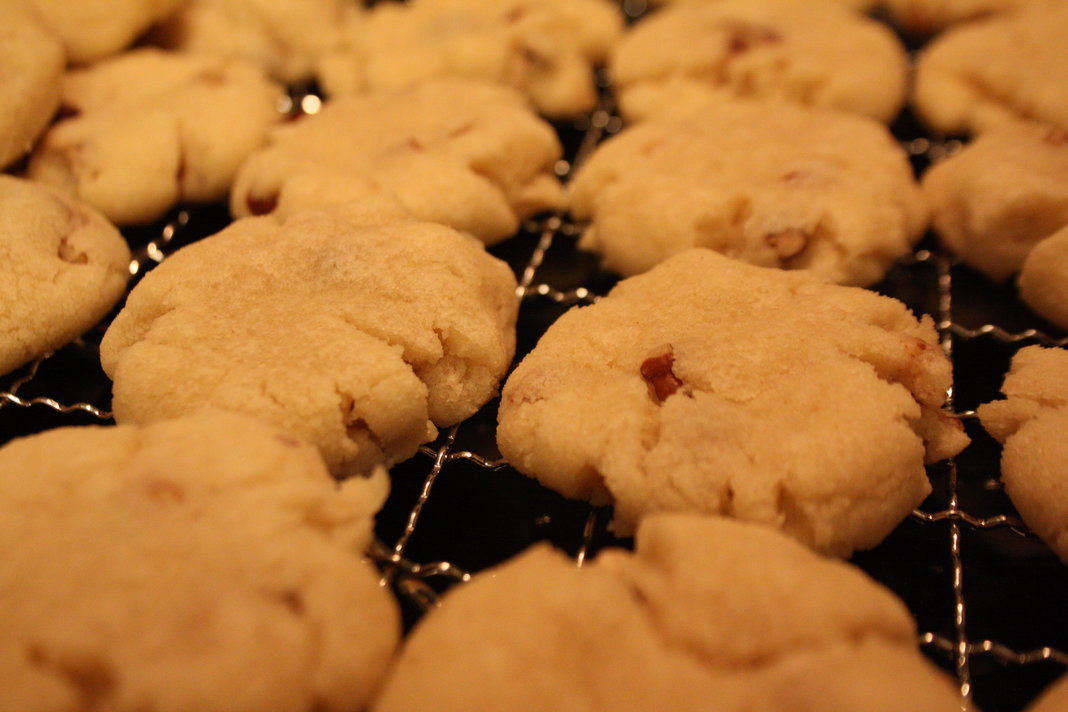
I modified the shortbread recipe slightly due to not having a lot of margarine on hand. I used half margarine and half shortening. The shortbread turned out extra-crispy compared to previous bakes of the same recipe. So, I’ll probably consider using half shortening again – at least for shortbread that I’m using as a base for squares of some sort.

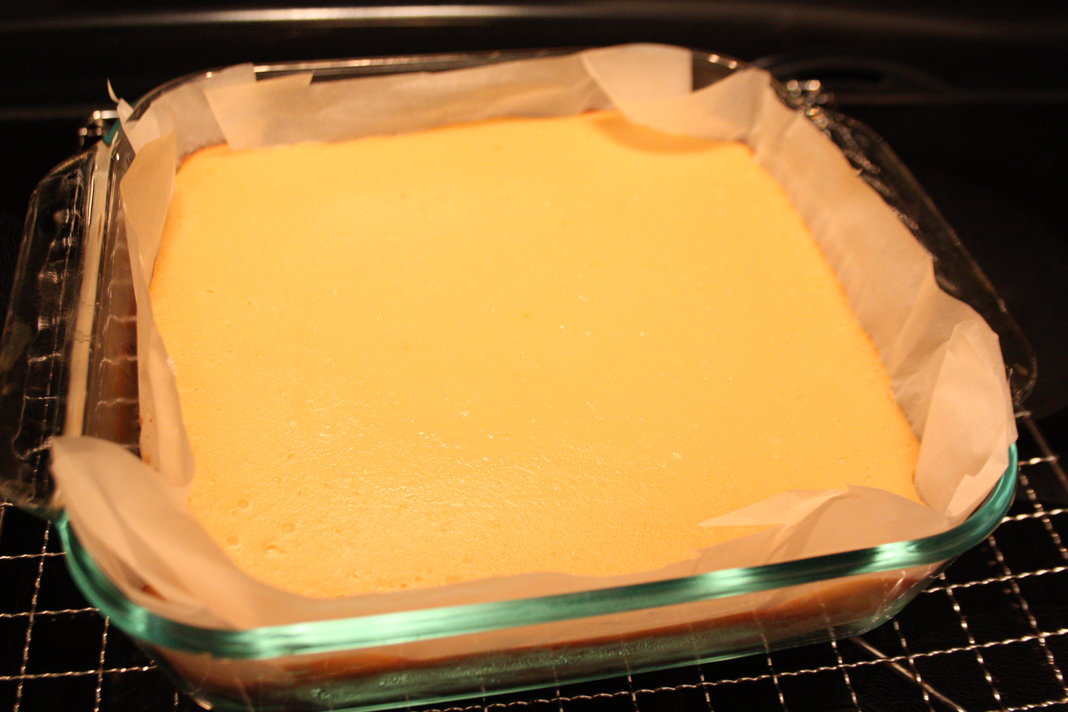
I lined the baking tray with parchment – like I did for this recipe, pressed the shortbread dough in, and spread the pumpkin pie batter on top.

I baked according to the temperature on the pie recipe and checked on the pie for that slightly jiggly, slightly set, just right, pumpkin pie doneness.

The pie took slightly less time to bake and to cool as the pumpkin was spread thinner than it would be in a pie.

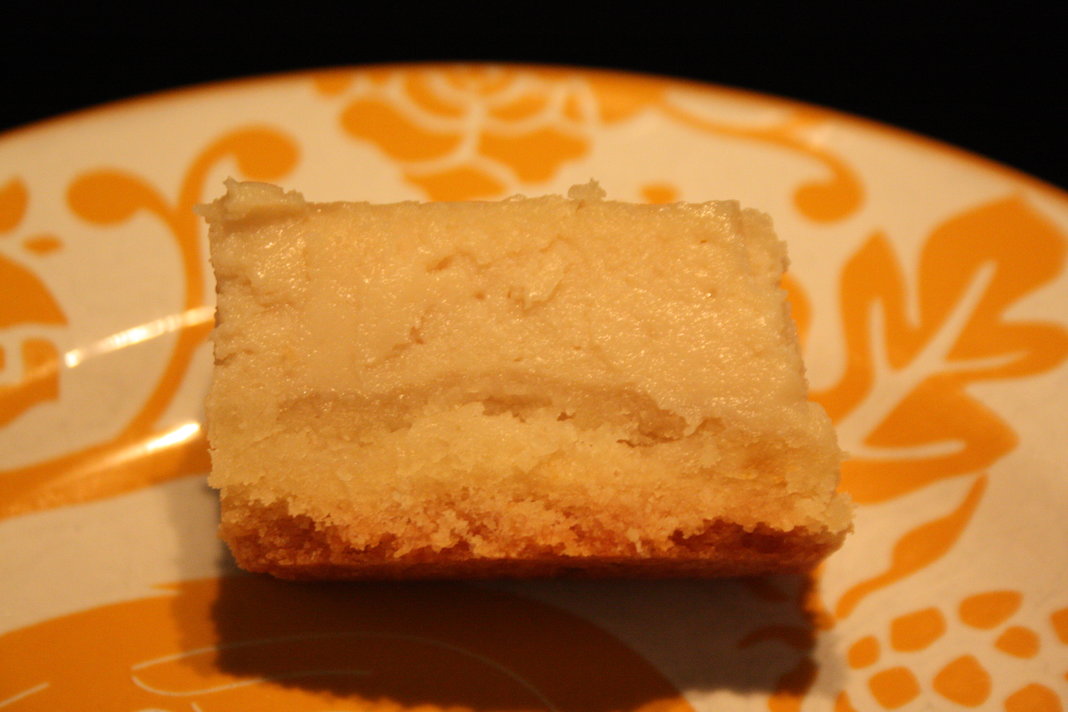
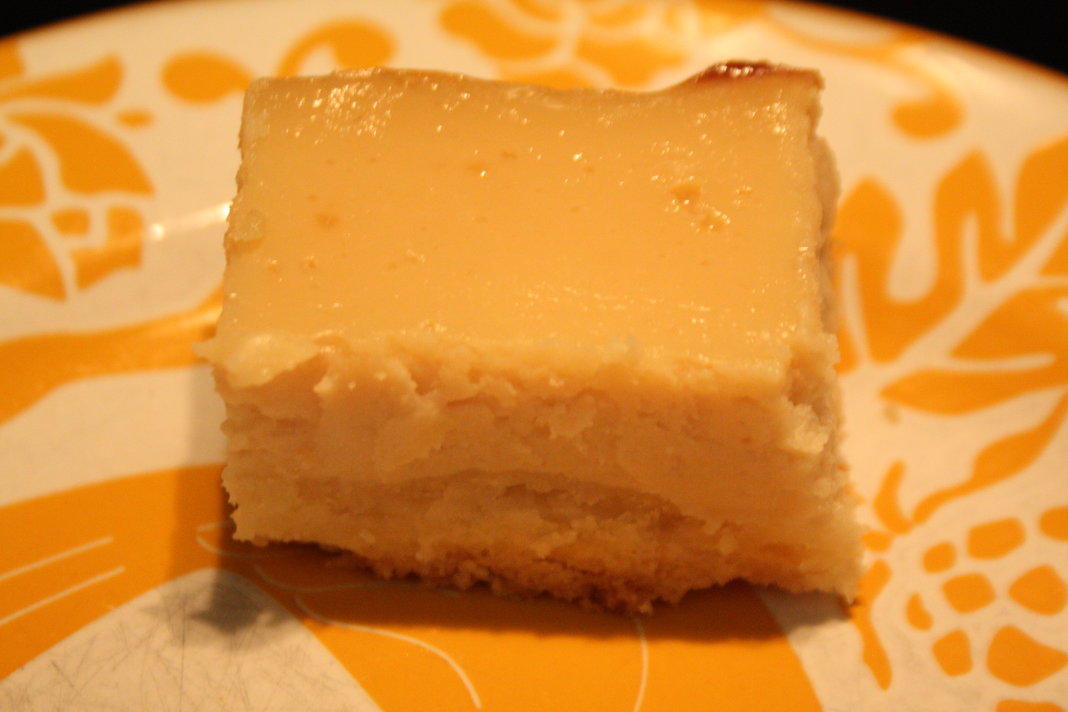
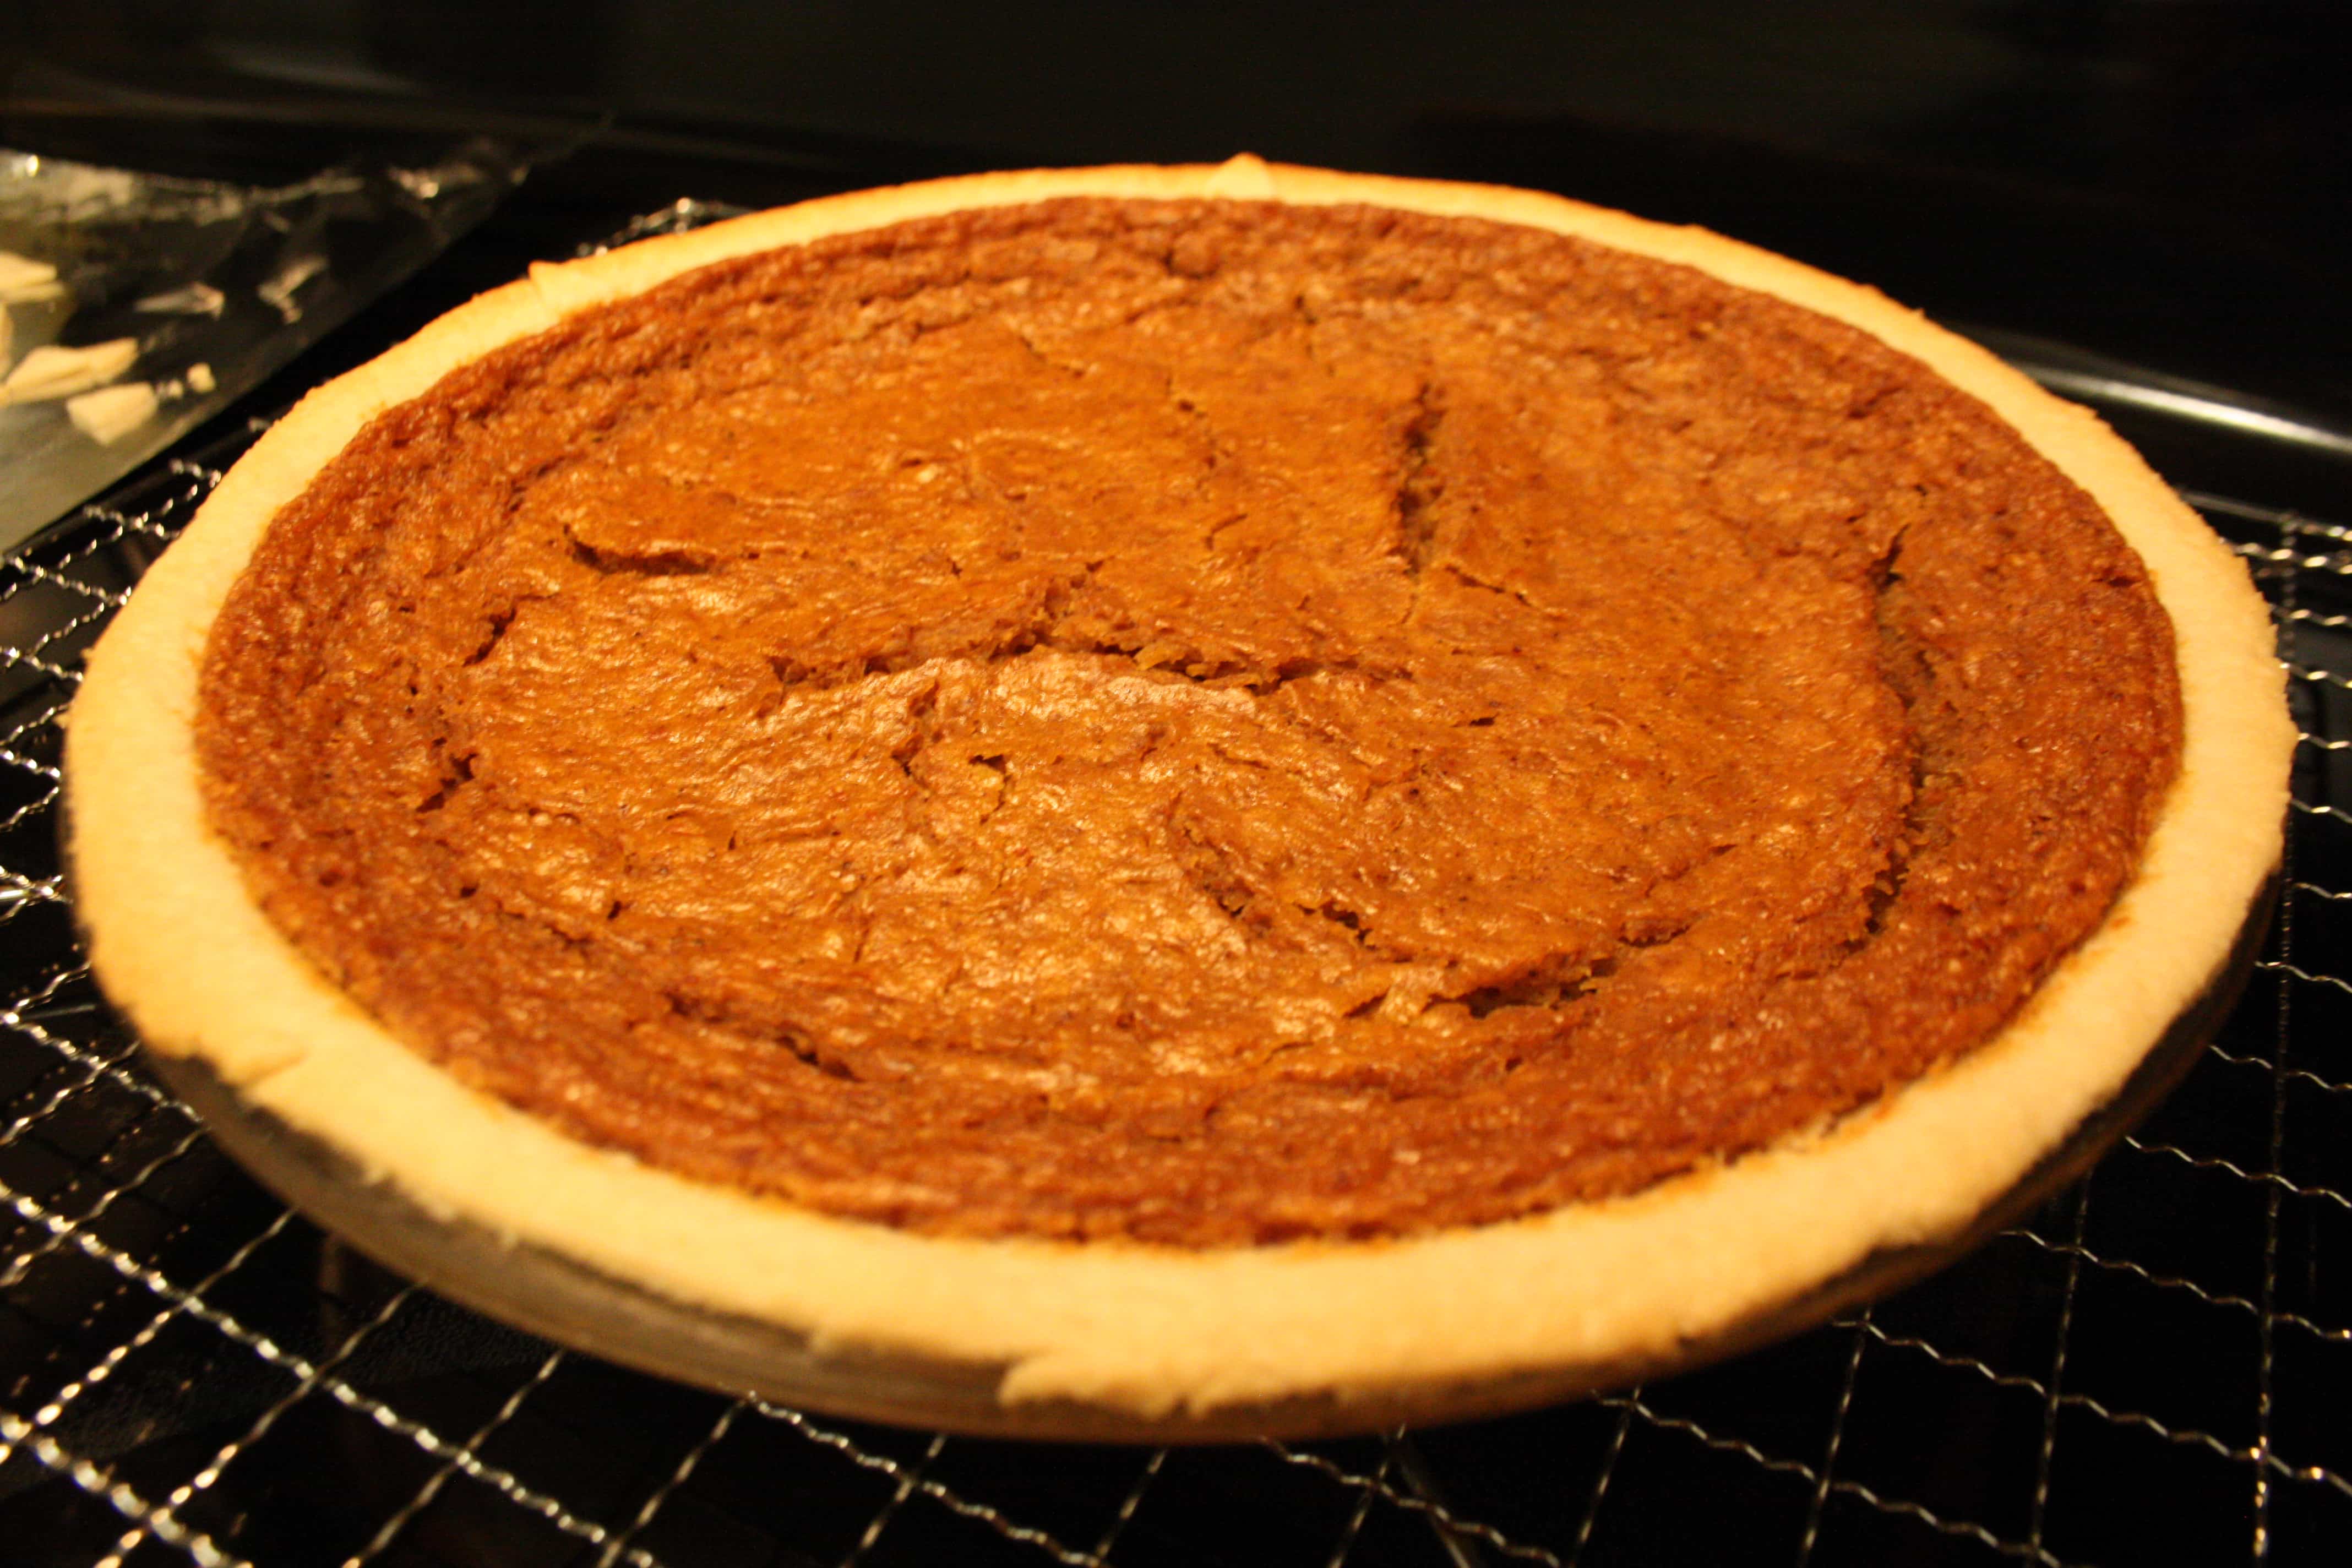
Here are some looks at the final product:

Whipped coconut topping was a delicious addition, but not an addition necessary for enjoyment.

Squares are a fun alternative to pie for using pie-style fillings.

More square experimentation may very well happen.

For pumpkin baking content from previous The Baking posts, check out:
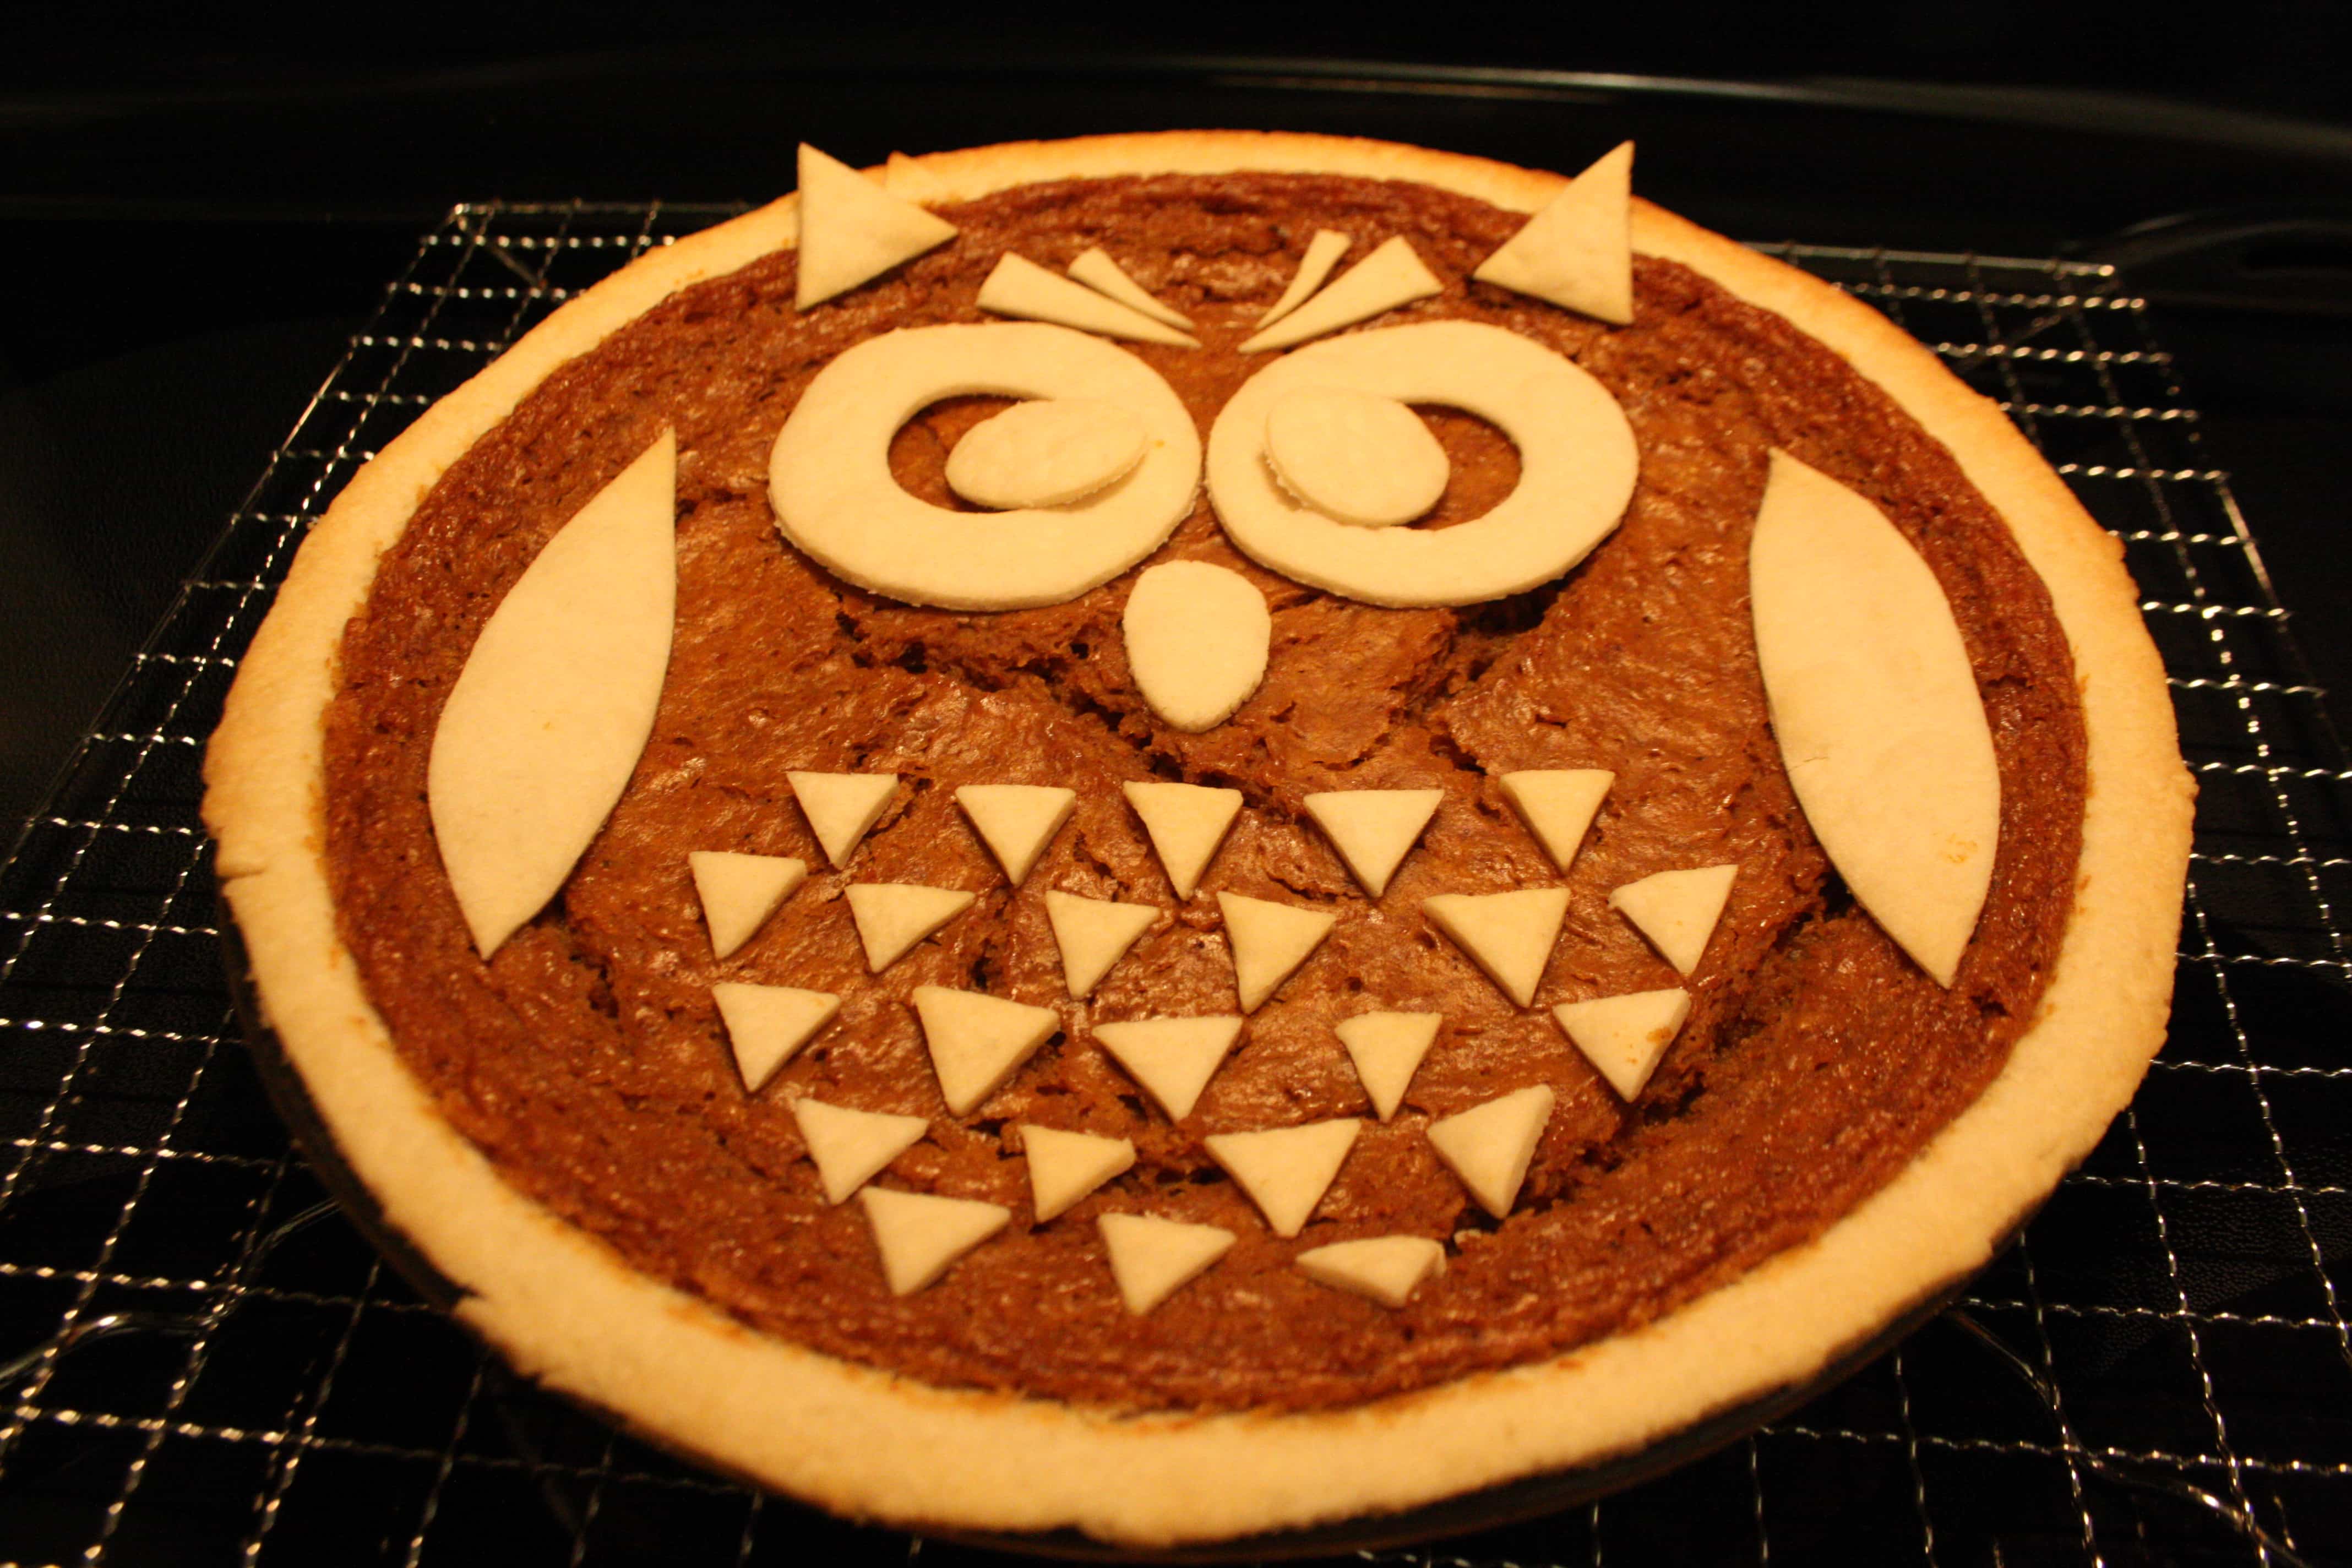
Pumpkin pie decorated to look like an owl

Pumpkin pie and pecans

Pumpkin cheesecake with Oreo crust

Bon appetit.

This stuff is bananas

It’s been longer while since posting than I thought it had been.

I’ve been baking still, of course.

And that’s that.

Back to the baking.

I saw a package of very ripe bananas in the reduced produce section at a supermarket the other day.

I bought the bananas.

Ripe bananas are ideal for banana bread.

I usually store ripe bananas in the freezer until I’m ready to use them.

But there wasn’t any room in the freezer.

No problem: I had an idea.

Banana salted vanilla caramel rolls.

Here they are before getting the caramel topping:

And again:

And after getting the caramel topping:

And again:

Again, that’s banana salted vanilla caramel rolls.

The main ingredient of note is banana.

The bread dough itself had a banana in it. The filling had a banana in it. And I made a salted banana-vanilla caramel – with two bananas in it – as a topping.

For the dough, I used this basic recipe for bread machine sweet dough. That’s right, I used a bread machine dough cycle to make the dough. I added the aforementioned banana and a small amount of instant coffee. I also added about a cup or so of extra flour – I eyeballed it – to account for the extra liquid from the banana. I also used a few tablespoons of aquafaba instead of the cornstarch-water-baking powder combination in the linked post.

I’ll have to consider a post about aquafaba at some point…fascinating stuff.

Anyway.

The filling was a mashed up banana, about half a cup of brown sugar, a packet of vanilla sugar, and some salt.

The caramel, which I added after baking and cooling, was kind of a random idea based on previous experience making a caramel-like filling for pecan pie.

For the caramel, I mashed two bananas into a smooth paste in a cooking pot, then added some sugar, salt, and vanilla sugar. I put the heat on low and cooked and stirred and cooked and stirred some more until the caramel was the right consistency. The right consistency was a when-you-know-it-you-know-it decision.

I let both the rolls themselves and the caramel cool overnight.

This is what the caramel looked like just before being spread on the rolls:

I just realized that there is batter splatter on my The Baking board in the photo. Said splatter has since been cleaned.

The banana caramel was the most experimental part of this recipe and also the part I’m most pleased with. Definitely a win.

Anyway, here’s the finished product one more time:

This recipe was the product of some imagination and a total of four bananas and it was absolutely delicious.

Absolutely bananas.

And for more banana bread content, check out some previous bakes:

Banana bread cake cones.

Experiments in banana bread.

Chocolate-chocolate chip bananana muffins.

Banana-blueberry muffins.

Bon appetit.

Rose water

Check out these cookies:

rosewater cookies 2

These cookies were beautiful. And pecan-ey. And delicious. And not too far off from my usual basic cookie formula.

The difference with these cookies: ROSE WATER.

Yes. Rose water.

Like this:

rosewater cookies 1

Rose water was the not-so-secret ingredient in these vanilla-pecan-rose water cookies.

I added about a teaspoon and a half of rose water to the cookie dough at the liquid ingredients stage.

The dough had a vanilla flavour base. I used about a tablespoon each of vanilla sugar and a liquid vanilla extract.

I used about a cup of chopped pecans.

I slightly under-baked these cookies so that they had a crisp outside and a softer inside.

The exact baking time to achieve your own definition of under-baked, or baked, depends on your oven. And you. Watch or check on the cookies.

If you’re not familiar with rose water, a certain internet encyclopedia-ish site has more here.

It could be argued that rose water may be an acquired taste. Or, perhaps an unusual flavour in most of North America that many people may not have heard of or tried.

I like rose water.

Other people who actually tried these cookies liked the rose water flavour.

Other people who I merely TOLD about having made rose water cookies seemed massively unimpressed and nope’d out of the idea of even trying the cookies.

Meh. Free shrugs.

Actually, the acquired taste mention reminds me somewhat of the lavender cookies I made.

Rose water can be found at many grocery stores and speciality shops. Or online. I bought mine at a neighbourhood discount grocery store.

I intend to further experiment with rose water as a baking ingredient.

I think it could work particularly well as an ingredient in cake icing or a tart filling.

Anyway.

Rose water cookies: it happened.

Lemons make lemon bars and lemon plants

I decided one day that I wanted to make lemon bars.

Meyer lemon bars, specifically.

I had been reading some random content online about Meyer lemons. According to what I read, Meyer lemons supposedly were THE lemon to use for wonderful lemon flavour. I decided to make lemon bars. And to use Meyer lemons

Meyer lemons were relatively easy to acquire. But I did have to look a little farther afield than the nearest of nearby grocery or produce stores.

Before getting to the recipe and how-to, this is what a slice of the finished lemon bars looked like:

lemon bars 4

I used this recipe, with a few modifications.

To get started, preheat your oven to 350 degrees.

For the crust/bottom:

-1/2 cup margarine. I used Earth Balance

-1/2 cup sugar

-2 teaspoons lemon zest/rind. The recipe called for one teaspoon lemon zest. But I used two. Because. You can grate your lemon zest with a lemon zester tool. Or with the fine grind part of a cheese grater. I used the fine grind part of my grater.

-1 cup flour. I used all-purpose unbleached flour.

Mix the margarine, sugar, and lemon zest together until smooth. The recipe I used suggested using a stand mixer with paddle attachment. I used my old-school egg beater. Add the flour and mix until blended. Press the mixture into a parchment-lined square pan – 8×8 or so – and bake for about 20 minutes until golden. The basic idea is to make a cookie to pour the lemon filling on top of.  Remove the pan from the oven and set aside to cool.

For the filling/top, the recipe I used suggested using a food processor. I used an immersion blender and a large glass measuring cup with a spout. A blender would work too.

To make the filling, you’ll need:

-1 12-ounce/~340g package extra-firm tofu. You’re likely going to have to do a bit of tofu math and tofu estimation for this recipe. A lot of tofu that I see in stores comes in 350-ish-gram packages. Or larger. Or smaller. I happened to have slightly-larger-than 350g package of firm tofu, so I did a bit of dividing and cutting. And eyeballing.

-approximately 1/2 cup of fresh Meyer lemon juice. The source recipe estimated about 5-6 lemons to get to half a cup of fresh juice. I got half a cup from about 3 lemons with a small lemon squeezer.

-1 teaspoon lemon zest. Again, I used two. Because. Adjust to your taste.

-1 cup sugar

-1/4 cup icing sugar

-2 tablespoons cornstarch

-1 teaspoon vanilla extract. I used a little bit more, probably half a teaspoon or so.

Blend together all liquid ingredients until smooth and creamy. Remember to pause to scrape the sides of whatever equipment you’re using to blend.

Add the flour, icing sugar, and cornstarch and blend again until combined.

Pour the filling mixture into the pan with the cooled crust and bake for 25 to 30 minutes until the filling is set.

Remove from the oven and let cool at room temperature for about half an hour or so.

Here’s the tray cooling:

lemon bars 1

Transfer to the tray to the fridge to cool completely.  I left the tray in the fridge overnight. The bars might take less time to completely cool. I would suggest not attempting to cut or eat the bars before they’re completely cooled. Because mess.

When it’s eat-those-lemon-bars-o’clock, slice and serve.

The recipe I used suggested sprinkling the bars with icing sugar or decorating with candied lemon before serving. I didn’t do that.

And [another] lemon bar close-up:

lemon bars 3

The lemon bars were FANTASTIC.

They were much-enjoyed by others as well.

I even made a second batch.

The second batch was also fantastic.

My verdict on Meyer lemons as some kind of super lemon: meh.

The Meyer lemons were fine. Perfectly adequate and full of the lemon flavour one would expect from lemons. The flavour was especially good in the lemon bars because, well, LEMON BARS.

Of course, it’s possible that the Meyer lemons I picked up were some rare bag of meh Meyer lemons. Or, lemons are lemons in many cases. Though that’s just my opinion. A lemon expert I am not.

A note on lemon juice. You could use any fresh-squeezed lemon juice in this recipe. It doesn’t have to be Meyer lemons. You could also use bottled lemon juice.

Now that I’m writing this, I’m wondering whether orange or lime bars could be a thing. Hmm.

As a bonus experiment, I decided to try to germinate the seeds from the Meyer lemons I used for the lemon bars. I used the moist paper towel and locking plastic bag procedure widely look-up-able on the internets. I now have some very small Meyer lemon plants growing in pots. I don’t expect actual lemons anytime soon. Or ever. But the plants are cool anyway.

Bon appetit.


Marshmallows, chocolate, cookies

This is a round-up sorts.

A round-up of cookies.

The very first post on The Baking was a post about cookies.

Cookies are fun to make. And it’s easy to experiment with ingredients.

Generally, cookie success can likely be yours if you consider the chemistry of the cookie ingredients that you’re using and if you keep an eye on the cookies while they’re in the oven.

The basic cookie formula I use can be found here.

Now, on to some cookies.

These cookies are chocolate chip-pecan cookies, with MARSHMALLOW baked inside:

marshmallow-cookies-1

That’s right, MARSHMALLOW. Here’s an ever-so-slightly closer look:

marshmallow-cookies-2

I was somewhat inspired, of course, by my own previous experiments with cookies inside cookies.

The marshmallow-containing fantastic-ness pictured above was, frankly, a random idea I came up with ahead of a party. I went and bought the marshmallows specifically for this project.

The reviews were positive.

The prep was easy: basic cookie formula, plus chocolate chips, plus pecans, rolled and shaped around individual marshmallows.

Having made marshmallow cookies a few times since, I would advise lining your baking tray with foil, baking paper, or silicone baking mat. The marshmallows can – and do – bubble out of the cookies. And sugar is sticky.

Next up, cookies with chocolate chips and cocoa nibs:

more-chocolate-chip-cookies-1

The cocoa nibs were a curiosity purchase at a bulk store. I’d never baked with cocoa nibs before. I wanted to try them out.

Again, basic cookie formula plus other ingredients.

I tried something new. And it worked. The cocoa nibs were a nice, crunchy, contrast to the chocolate chips.

I made the cookies thin and crispy on the outside – because that’s the way I like them.

A slightly closer look at the cocoa nib and chocolate chip cookies:

more-chocolate-chip-cookies-2

The next several photos are from a cookie baking session I had ahead of a holiday.

Three different batches of cookie dough – all, of course, based on my basic cookie formula – were involved.

First up, vanilla-chocolate chip cookies with sea salt:

so-many-christmas-cookies-2

For these cookies, I made a vanilla and chocolate chip dough and rolled balls of dough in a plate of sea salt before baking.

I liked the cookies. Fellow salted cookie fans liked the cookies. Cookie win.

Underneath the salted chocolate chip cookies, on my fabulous triple-decker cooling rack, is a batch of chocolate chip and pretzel cookies:

so-many-christmas-cookies-1

Basic cookie formula, plus chocolate chips, plus pretzels.

I’m a fan of sweet and salt and crunch together. I liked these cookies. So did others.

A small step back for a wider shot of cookie admiration:

so-many-christmas-cookies-4

And, in somewhat of a giveaway of when these cookies happened, chocolate chip cookies with pretzels and crushed candy cane:

so-many-christmas-cookies-3

The pretzel-candy-chocolate chip cookies are slightly darker than the cookies cooling beside them thanks to about a teaspoon of dark cocoa powder that I added to the dough.

I bought the candy canes whole and crushed them in a bag.  But I have seen pre-crushed candy cane in stores. Candy canes could be replaced with many other candies if you want to experiment. Though I would suggest thinking about the texture and consistency of the candy that you want to use. A lot of candies would probably melt and make a mess at oven temperatures.

Here are all three types of cookies together, cooling:

so-many-christmas-cookies-5

Cookie experiments: good times.


Hoot, hoot: it’s a pie

It’s a pie, decorated to look like an owl:

owl pie 2

More specifically, this is a pumpkin pie decorated to look like an owl.

This isn’t, of course, an attempt to create a pumpkin spice and owl hybrid: it’s merely a pumpkin pie decorated to look like an owl.

The filling of this pie started out as an actual pie pumpkin: no canned pumpkin involved in this particular pie.

I washed, seeded, and chopped the pie pumpkin. Then I steamed it and pureed it with an immersion blender.

For the pie, I, basically, used this recipe – minus the pecans.

I played around with the spices – more cloves – a bit. And I used vanilla sugar in place of about half of the total sugar. Vanilla sugar – which used to be somewhat difficult to find – has seemed as of late to be available at a certain large bulk food chain. I’m a fan.

I made a batch of pie pastry dough using this recipe.

This is what the pie looked like when it first came out of the oven:

owl pie 1

The decoration – which I chose to do in the form of an owl – is extra pastry dough that I baked separately on a cookie sheet. I cut a few of the pieces – such as the eyes – with cookie cutters. I cut the rest of the pieces freehand with a paring knife.

Pumpkin pie filling always seems to remain somewhat moist on top, so the pastry pieces I made for decoration pretty much just stuck to the pie without any additional effort, pressure, or ingredients.

Hoot, hoot.

And, of course, I set aside the pumpkin seeds for roasting – with a little bit of olive oil, salt, and ground white pepper.

Pecan chocolate chip cookies

The title pretty much says it all.

These were chocolate chip cookies – with pecans.

I used the old basic cookie procedure along with about half a cup of semi-sweet chocolate chips and about half a cup of pecans.

For the pecans, I bought a package of pecan halves and, then, chopped the pieces a little smaller on a cutting board with a knife.

Here are the cookies – posed, of course – as they cool:

coo kies 2

And here they are again, on a plate:

coo kies 3

Note the random – and colourful – structures from around the world on the edge of the plate. Fun plate is fun.

Delicious cookies are delicious.

Baking, on The Baking

It’s been a while since I posted.

But I have been baking things.

One of the things I baked was a batch of cupcakes.

Chocolate on chocolate.

I used the usual recipes – slightly modified, of course – for the cake itself and for the icing.

The main modification was that I added a little bit of coconut flour – for flavour – to the cake batter.

I also used coconut flour in the icing.

For decoration, I opened up and tried a vial of edible glitter – in gold – that I’d picked up but hadn’t gotten around to using.

Cupcakes, chocolate, coconut, glitter: all rather fabulous.

And here the cupcakes are:

coo kies 8

And that is indeed a custom The Baking cutting board.

Oatmeal cookies

It had been a while since I’d had a nice oatmeal cookie.

So I made a batch of oatmeal cookies with chocolate chips.

And they were absolutely fabulous:

oatmeal chocolate chip cookies

I used, as per usual, my basic cookie ingredients process.

To modify the dough to make oatmeal cookies, I added extra liquid – about one quarter of a cup total – and about thee quarters of a cup of oatmeal.

I used plain, quick-cook oats. Large-flake oats would probably work too, albeit with a slightly different final texture.

I also added a pinch or two each of cinnamon, nutmeg, and cloves. The idea with the spice was for a light trace of spice in the cookies, not full-on spice flavour.

I used about half a cup of chocolate chips.

I like relatively crisp cookies, so I made these cookies thin and baked them a little longer than I would have if I wanted them to be soft.

Yep.

[Everyone] heart[s] cookies

I made cookies. 

The cookies were shaped like hearts.

Here they are:

giantheartcookies

I used my usual cookie formula, with a few modifications.

But I didn’t use a cookie cutter to make the heart shapes.

Really.

Look carefully at the cookie in the centre of the picture. You might be able to see small seam-like lines that give away how the heart shape was made. I took three round pieces of cookie dough, flattened them into regular, round-ish shapes, and then shaped and pushed the pieces together into a heart-like shape. I used the edge of a butter knife to straighten out some of the edges.

As for the modifications to the cookie formula, I added about a teaspoon or so of cocoa powder to the dough, and used about a quarter of a cup each of chocolate chips and chopped hazelnuts. I used cold coffee as the main liquid ingredient.

I added the cinnamon hearts and heart-shape gummies – both from a bulk food store – as the cookies were cooling on a wire rack after baking. I used the still-melted chocolate chips as a sort of glue and pressed the cinnamon hearts and gummies into exposed chocolate chips. Once the chocolate had cooled and hardened, the cinnamon hearts and gummies stuck.